Project: How to propagate houseplants

We're not all green thumbs in the garden and often we don't have the time, the inclination or the weather (looking at you, Summer 2023) to dig and plant during precious daylight hours. But houseplants are a very different story. You can potter with pot plants whenever it suits you. Their main requirements are light, potting mix and water and with a little know-how, you can learn to propagate or grow from cuttings for free! Swap cuttings with friends; before you know it, luscious plants will literally provide a breath of fresh air to your home. Here's how to get started.

Above: Ensure there is a leaf node on your cutting. In this case, there are two so we can propagate two plants.
Step one. Taking cuttings
Cuttings can come from a plant you already own, or start eyeing up what friends and relatives have at their place and suggest a swap! Identify healthy shoots of new growth and use sharp secateurs or scissors to cut lengths of roughly 10-20cm. Make your cut below a leaf node (or joint), as this is where the new growth will sprout. Try to include up to three sets of leaves on your cutting.
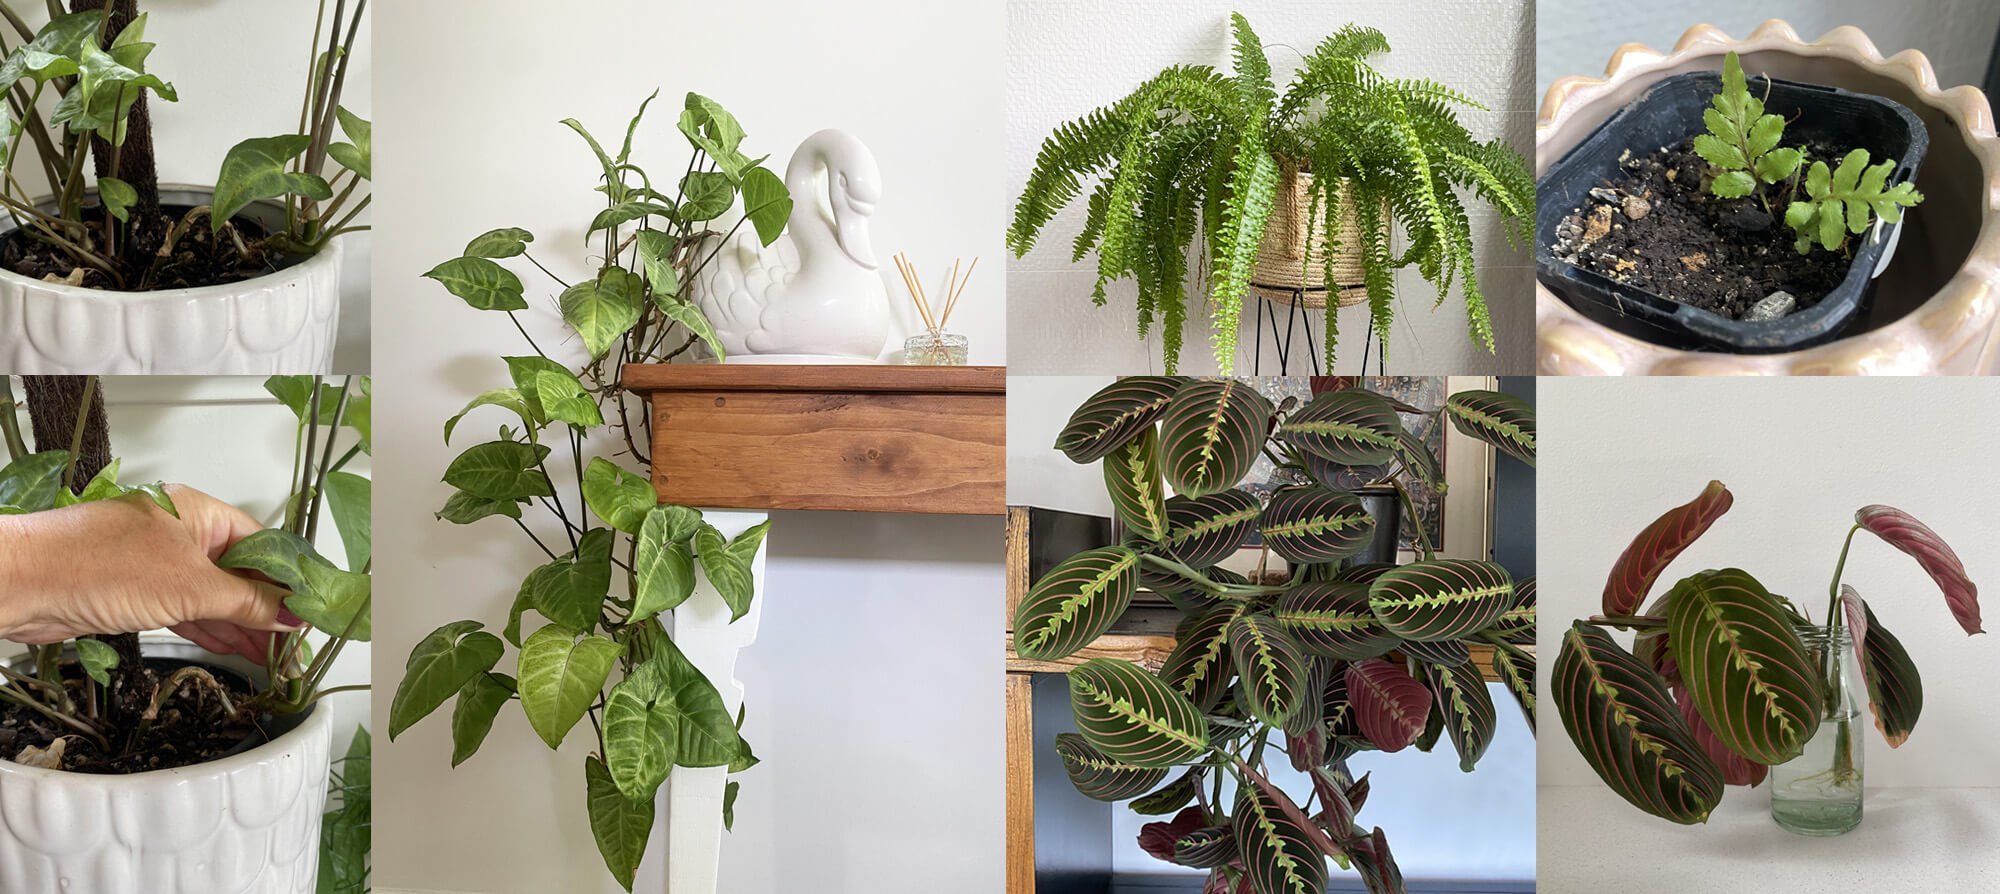
Above, left: Removing a pup gently and the resulting new plant. Top right: A ladder fern and its 'mini me'. Bottom right: If a section breaks off a plant, try popping it into water and it will probably grow roots.
Some plants sprout 'pups' at their base. In this case, gently remove a pup being careful to ease out any roots with it. These pups can be potted up straight away.

Above: Cinnamon works as a rooting hormone.
Step two. Add rooting powder
This step is not essential but might create a better environment for success. Dip the cut end into a hormone powder or some cinnamon, which has the same purpose.
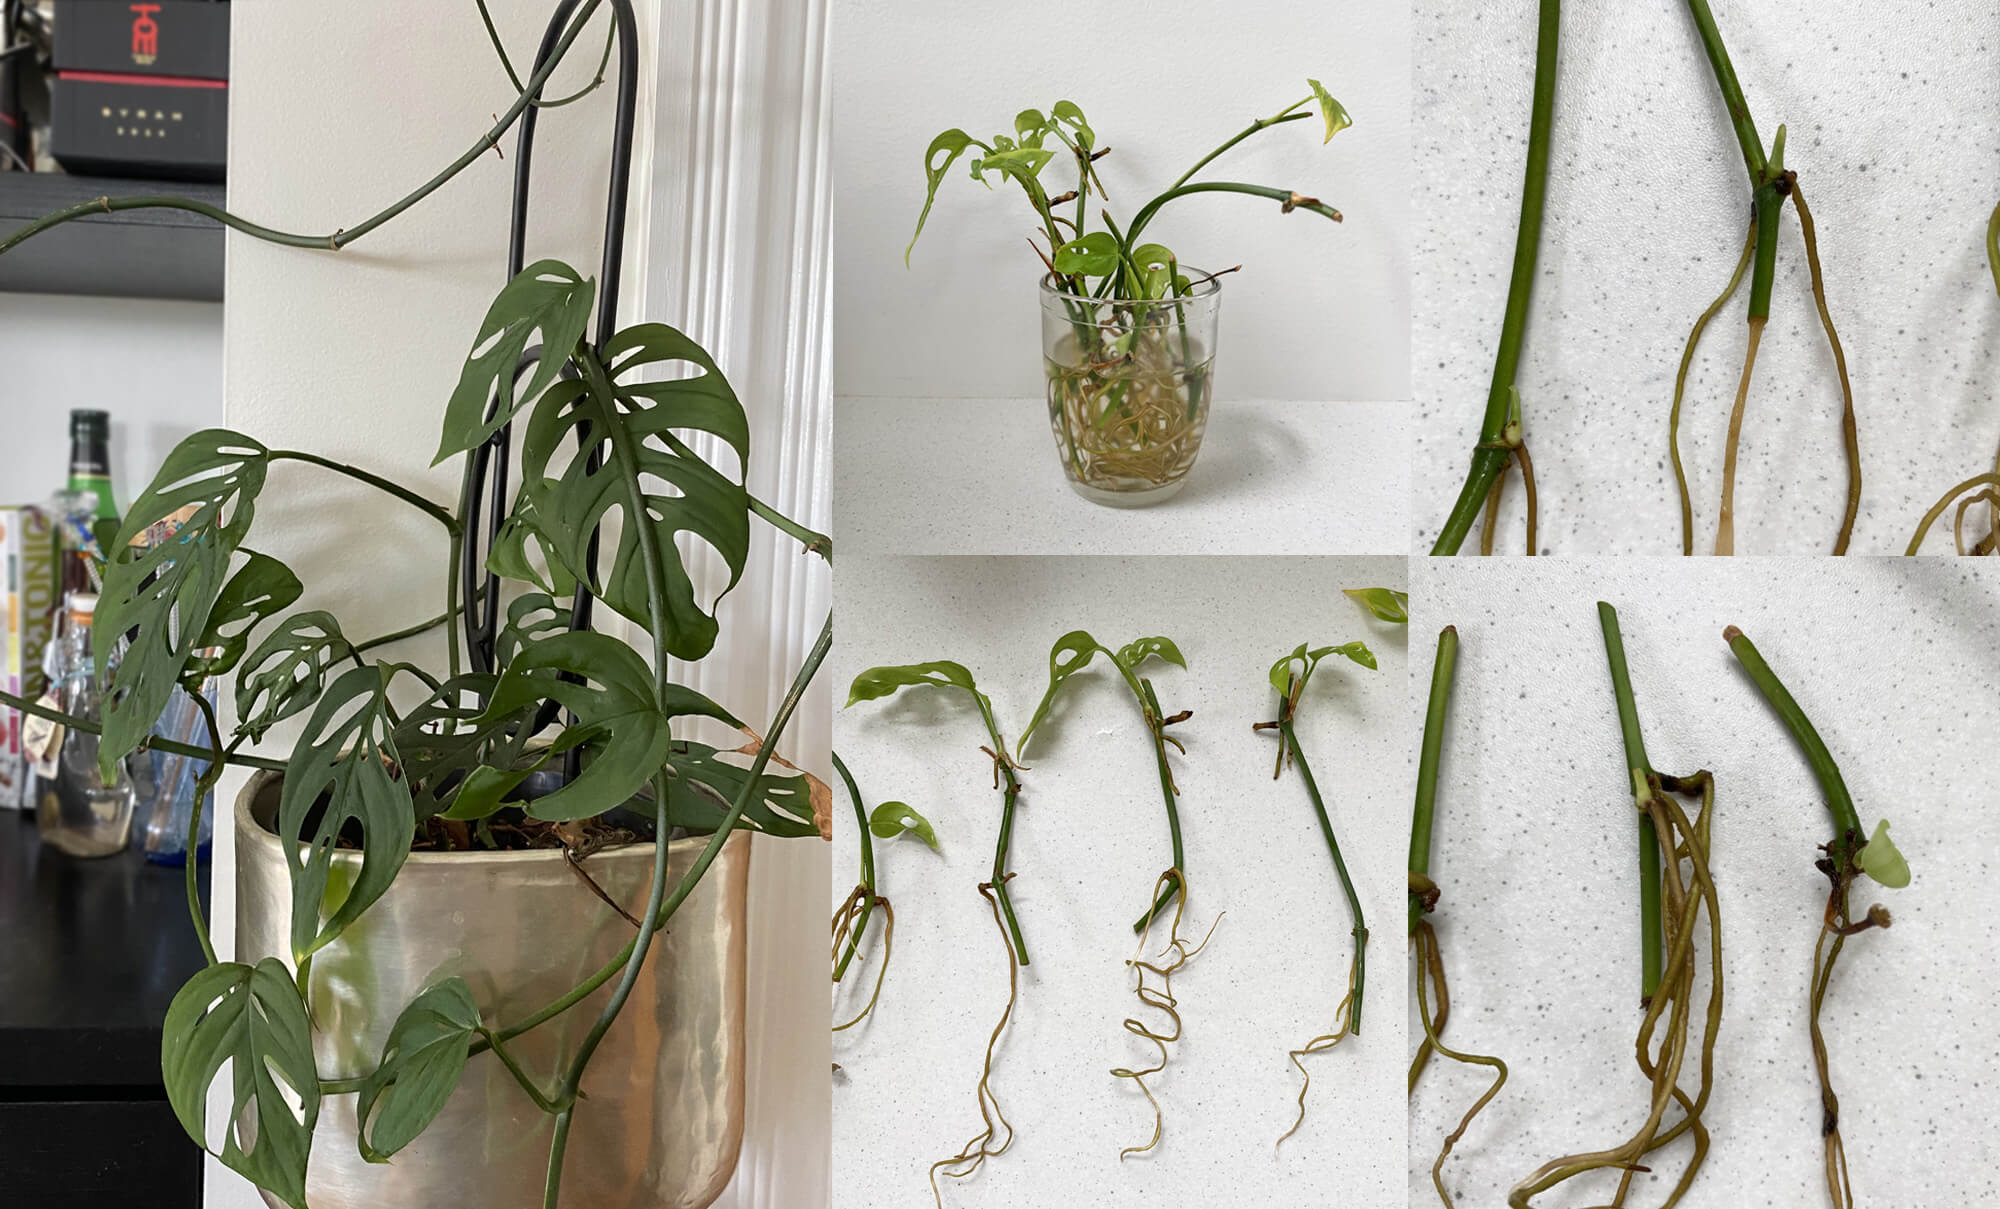
Above: When this 'Swiss Cheese' plant appeared to be dying, we cut it back and cut the stem into sections. Each section with a node developed roots, even those without leaves. The mother plant is now thriving.
Step three. Grow roots
Place your cutting into water and leave it for a few weeks up to a couple of months, refreshing the water if you notice it becoming green. Depending on the season and the amount of light in your makeshift nursery, you should see roots sprout from the cutting within a month. It's best not to rush planting but wait until the roots grow to 5 - 10cm, depending on the size of the cutting.
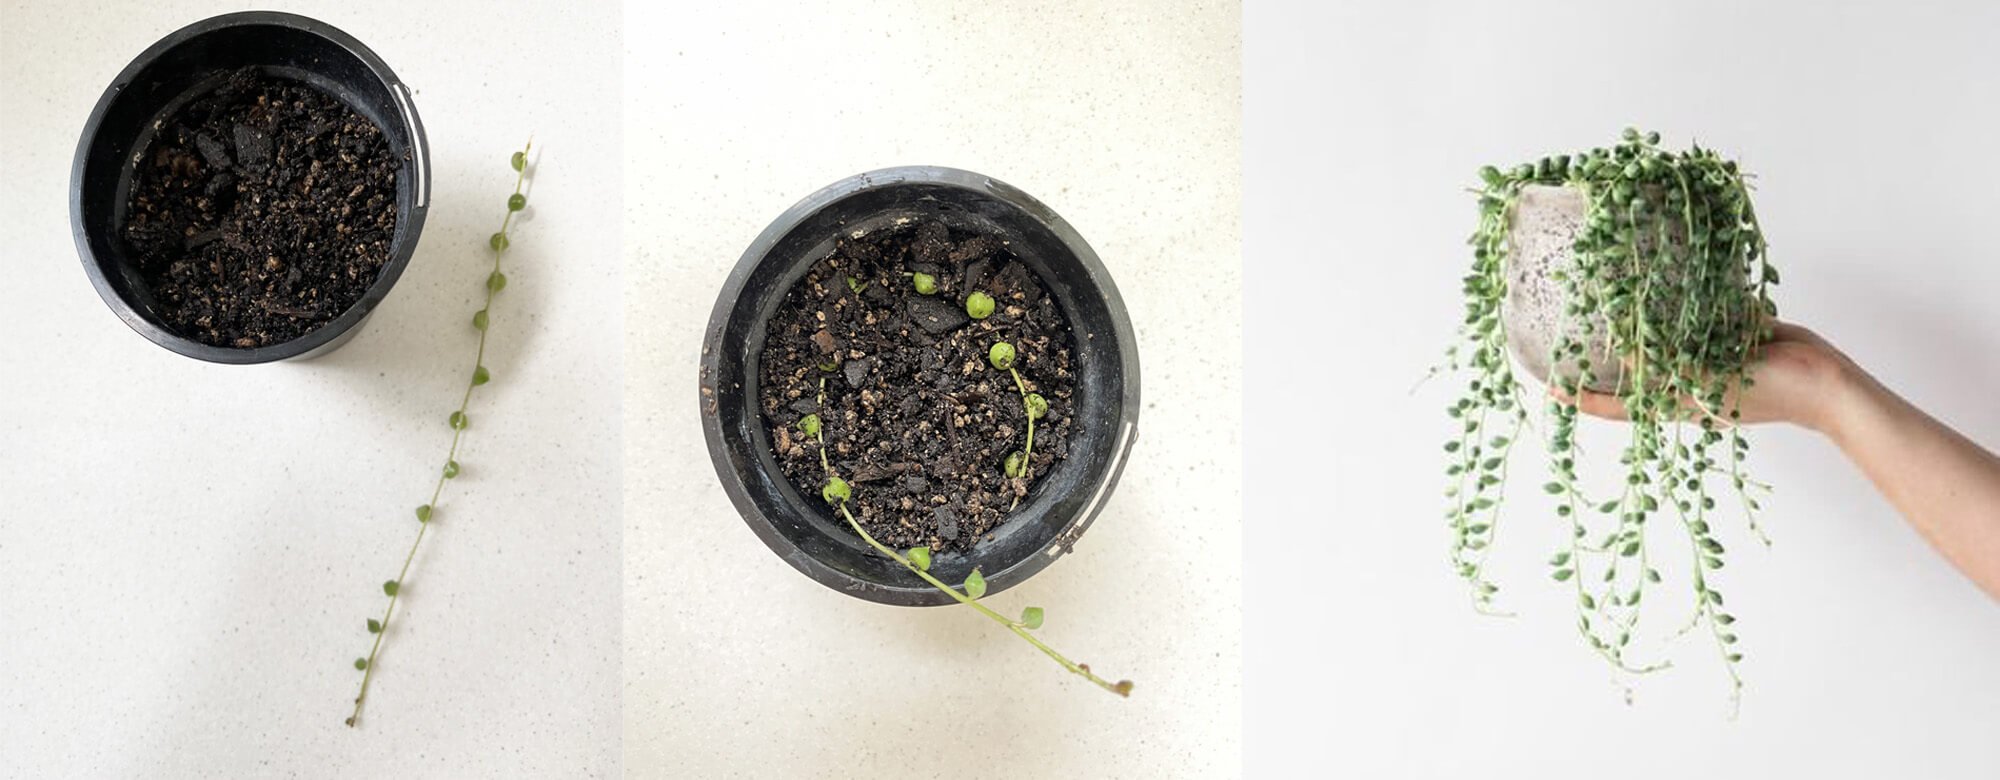
Above, 'String of Pearls' plants are pricey but easy to propagate! Simply cover a portion of the plant with soil and it will grow roots.
Some cuttings can be planted directly into fine soil or potting mix, but for the novice, we suggest water so that you can easily monitor the progress of your plant baby.
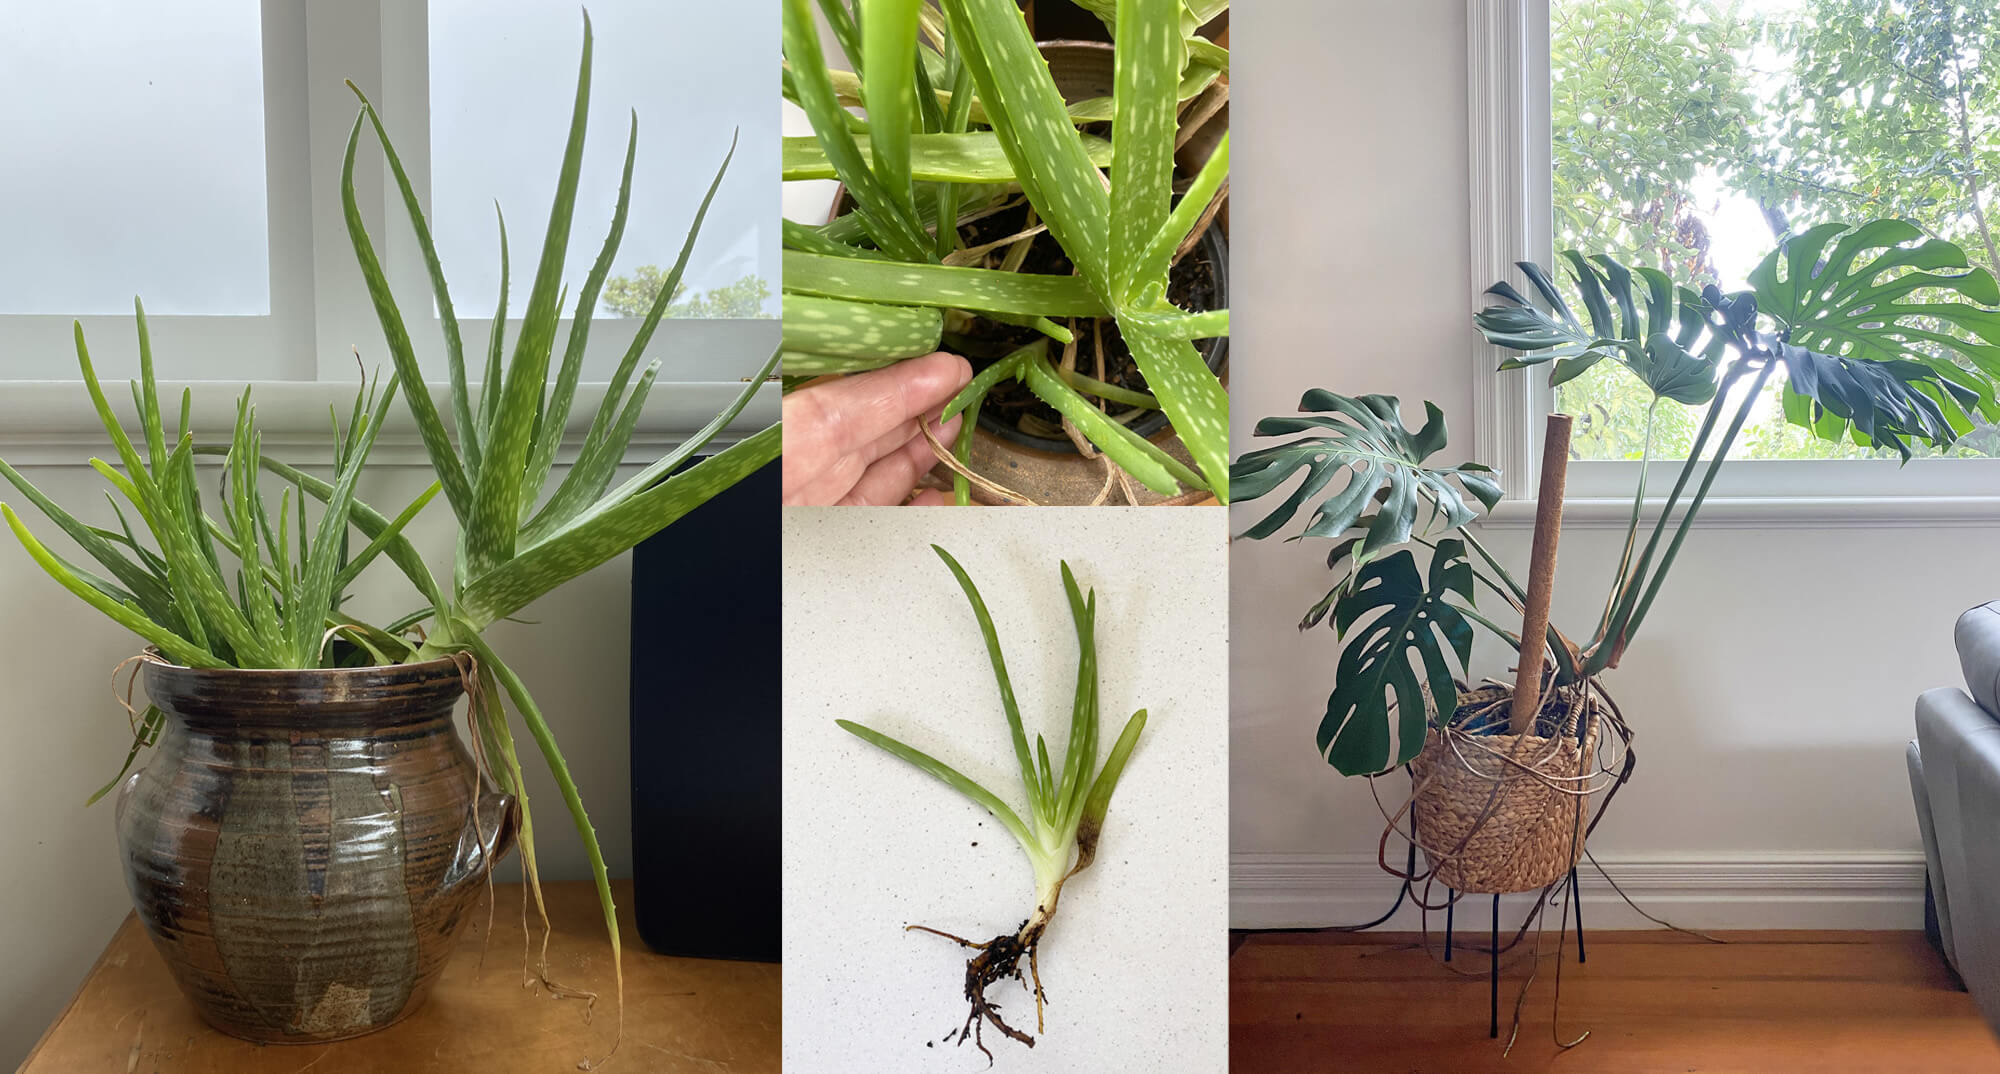
Above, left: Aloe Vera likes plenty of light and prefers to dry out between waterings. If it's happy, you'll get lots of pups that can be potted up straight away. Right: This Monstera Deliciosa was grown from a piece of root cut from a large outdoor plant.
Step four. Get potting!
Once the root system has reached more than 5cm and looks strong and healthy, it's time to pot the plant. Choose good quality potting mix and a small to medium-sized pot. If the pot doesn't have good drainage holes, either make some holes or add stones to the base to create draining space. Add a base layer of soil then gently place your propagated plant into the pot, adding more soil to about 2cm from the top. Water it well, leave it to drain and place it on a saucer or inside a plant cover. It's best to let the plant grow out of its pot before re-potting into a larger pot.
And that's it! Propagating is easy but if it seems like you're unsuccessful, just wait a bit longer or try again. Not only are they beautiful, but plants help to filter the air in your home. If you're keen to improve the street appeal of your home with planting, check out this article.
Garador specialises in reliable, quality garage doors and opening systems made in New Zealand. Find your friendly local dealer from over 30 nationwide.
Back to articles
Related Articles